Overview
The pre-start inspection is the core workflow in PreStartGo: work through the machine's checklist in the app, and on a passing result the app unlocks the machine's Interlock over Bluetooth. This article walks the whole flow — including what happens on a fail, and the details that only matter once you're doing this every day.
Before you start
- Role
- An active Operator (or higher) licence covering the machine's equipment group
- The PreStartGo app, signed in with your phone number
- Bluetooth enabled, for machines with an Interlock fitted
- No connection required — the whole flow works offline
Starting the inspection
Scan the machine's GoTag from the Start tab (camera or NFC), or open the machine from the Equipment list or the Start tab's Recent Equipment card. Scanning is the recommended way — it positively identifies the machine when several similar ones are parked together — but it isn't compulsory; every path lands on the same equipment page, and the pre-start starts from there.
The app resolves the correct checklist itself, from the machine's (or its group's) default template. There is no checklist picker — if no template resolves, the app tells you plainly rather than letting you pick a wrong one.
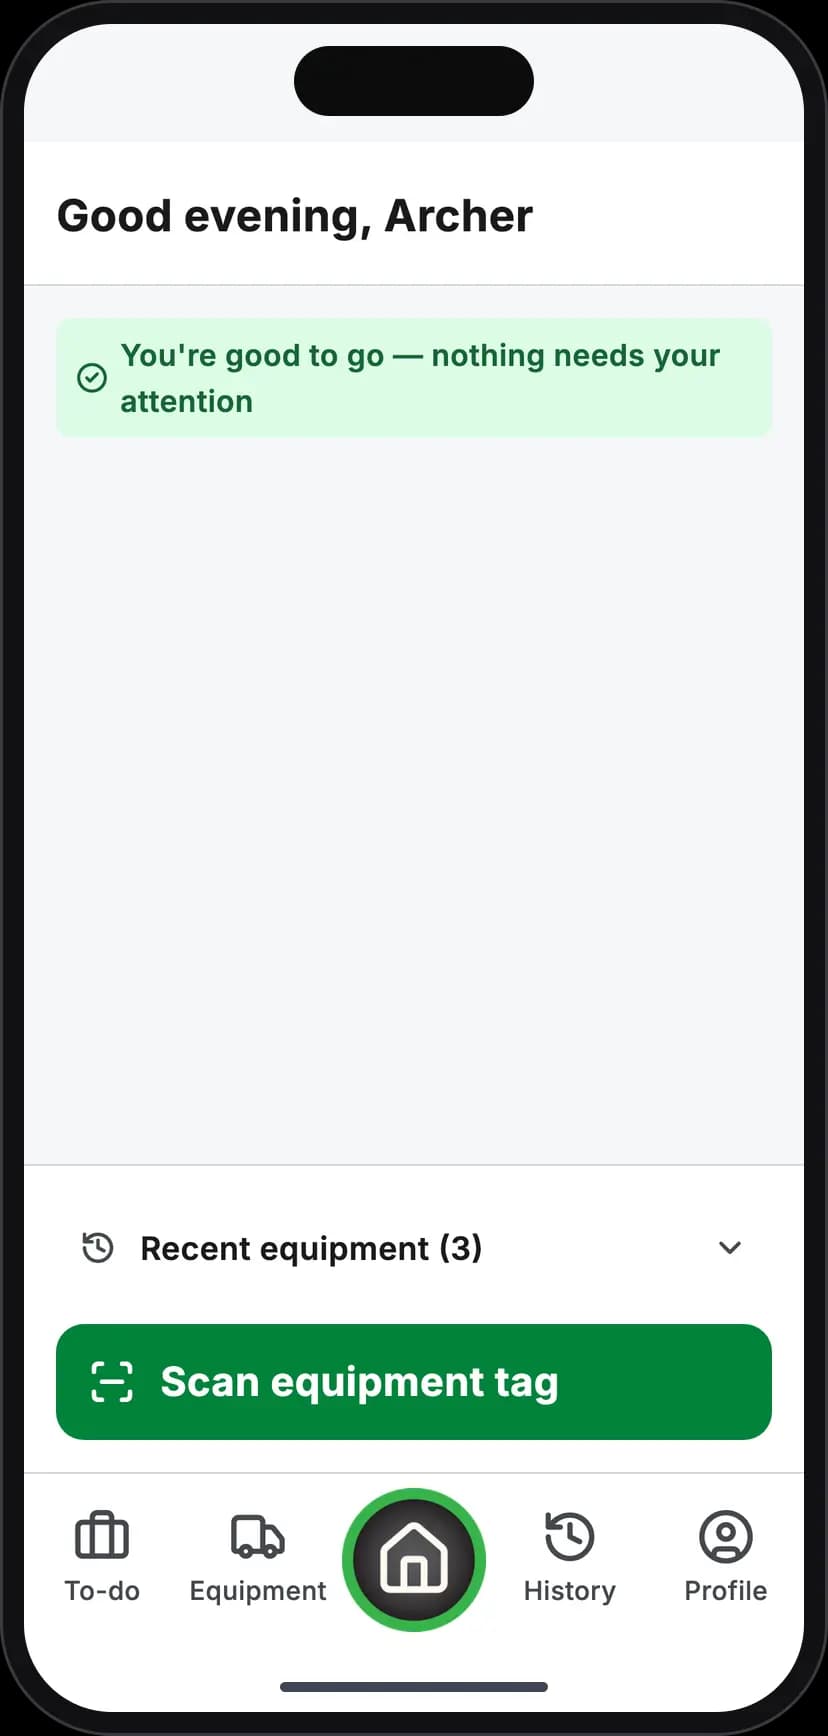
Scan the machine's GoTag
Working the checklist
The checklist renders as one full list, every section visible. For each item, mark Pass, Fail, or N/A. Items come in more shapes than pass/fail — some ask for text, a number, a selection, a date, a photo, or a signature — and whatever the shape, each still resolves to a pass/fail/N/A outcome underneath.
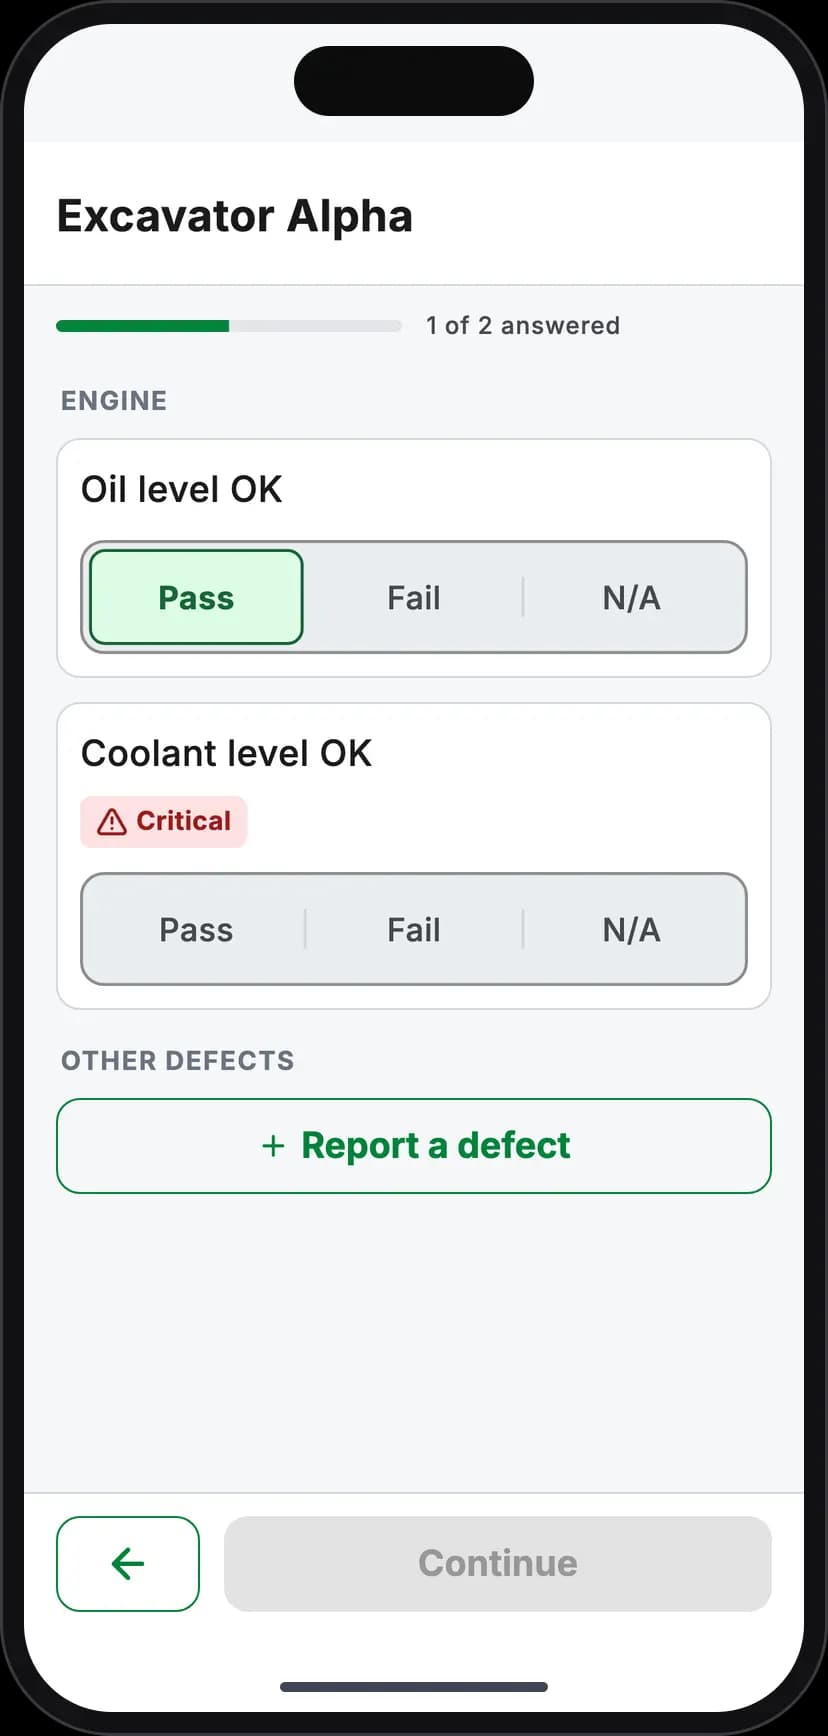
Work through the checklist
Worth knowing as you work:
- Critical items are the ones that block the machine on failure, and every critical item must be answered individually — there is no way to skip one.
- "All pass" per section marks a section's untouched, ordinary pass/fail items as passed in one tap. Critical items, already-answered items, and items carrying an open defect are deliberately excluded — those want individual attention.
- "Failed last time" badges mark items that failed on this machine's previous check, so a recurring problem is visibly re-presented rather than sailing through a bulk pass.
- Your progress saves itself. A draft is kept as you go — put the phone in your pocket, come back, and the answers are still there.
Failing an item
Marking an item Fail opens defect capture on the spot: severity, description, and photos, attached to that item. The defect rides with the check submission — you're not sent off to a separate defects screen mid-inspection.
If the item already carries someone else's open defect, the app shows it and asks whether this is the same problem (add a comment) or a different one (raise a new defect). See Defect Management Workflow.
Summary, fuel, and spotter
The summary screen shows the pass/fail tally and your pending defects (still editable), and captures the machine's fuel level on an eighths gauge — that reading drives the low-fuel alerting on the console side. Tap Submit pre-start to send it; the button says Continue when a spotter step comes next.
If the machine or site requires a spotter, the spotter step offers two methods: the spotter's phone confirming over Bluetooth proximity, or a 6-digit spotter code read out verbally — the code path works fully offline. If no spotter is available, Continue without spotter lets the pre-start proceed; the check is flagged for supervisor review rather than blocked.
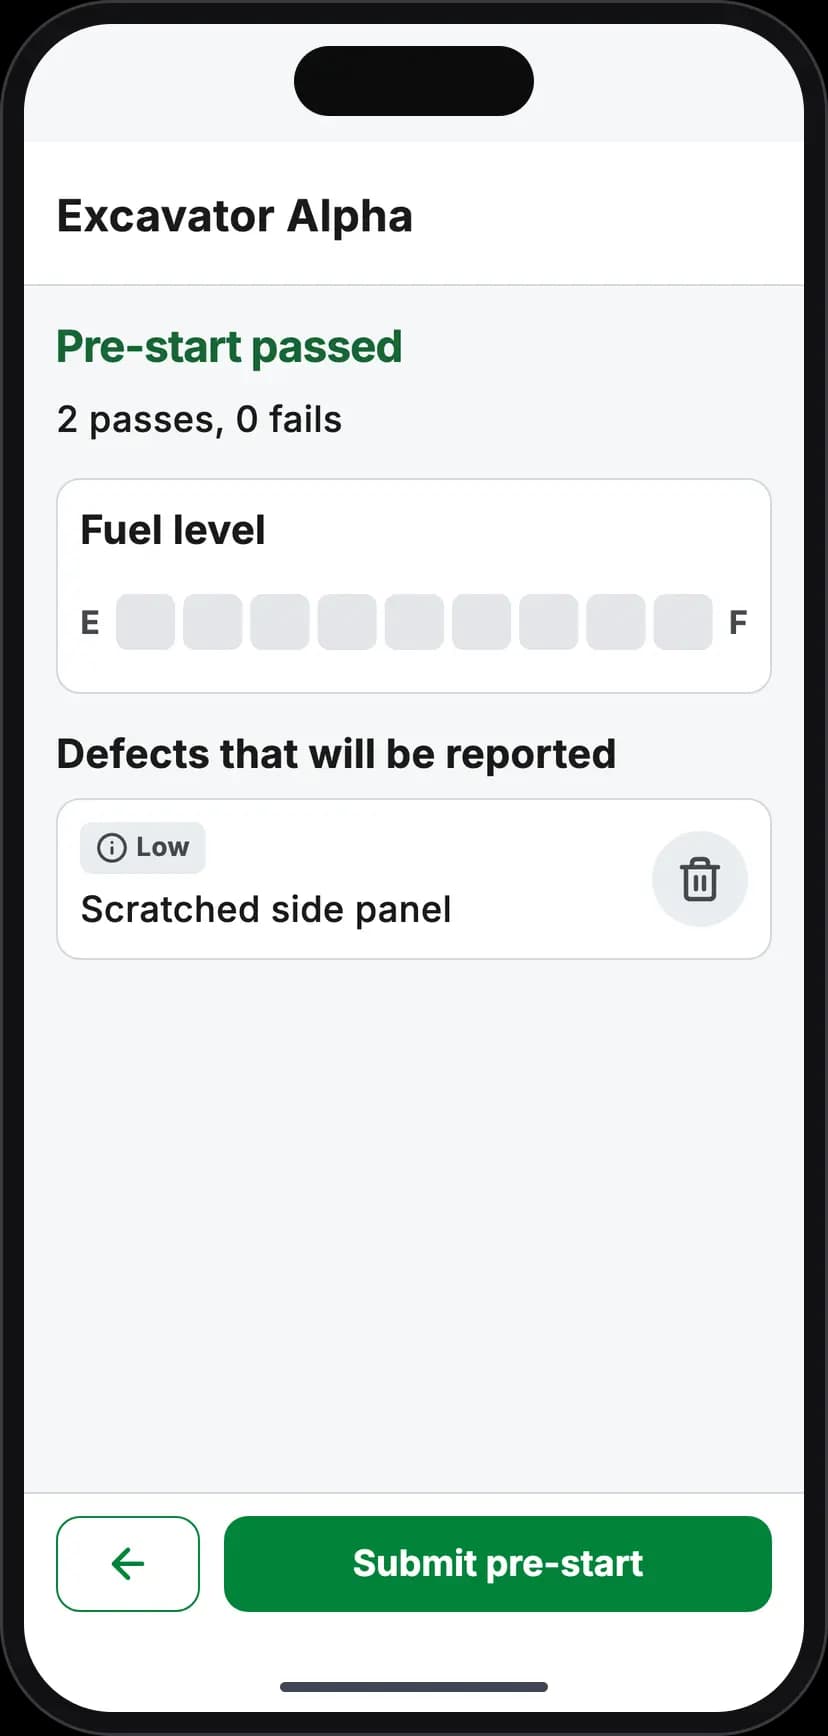
Review the tally and fuel
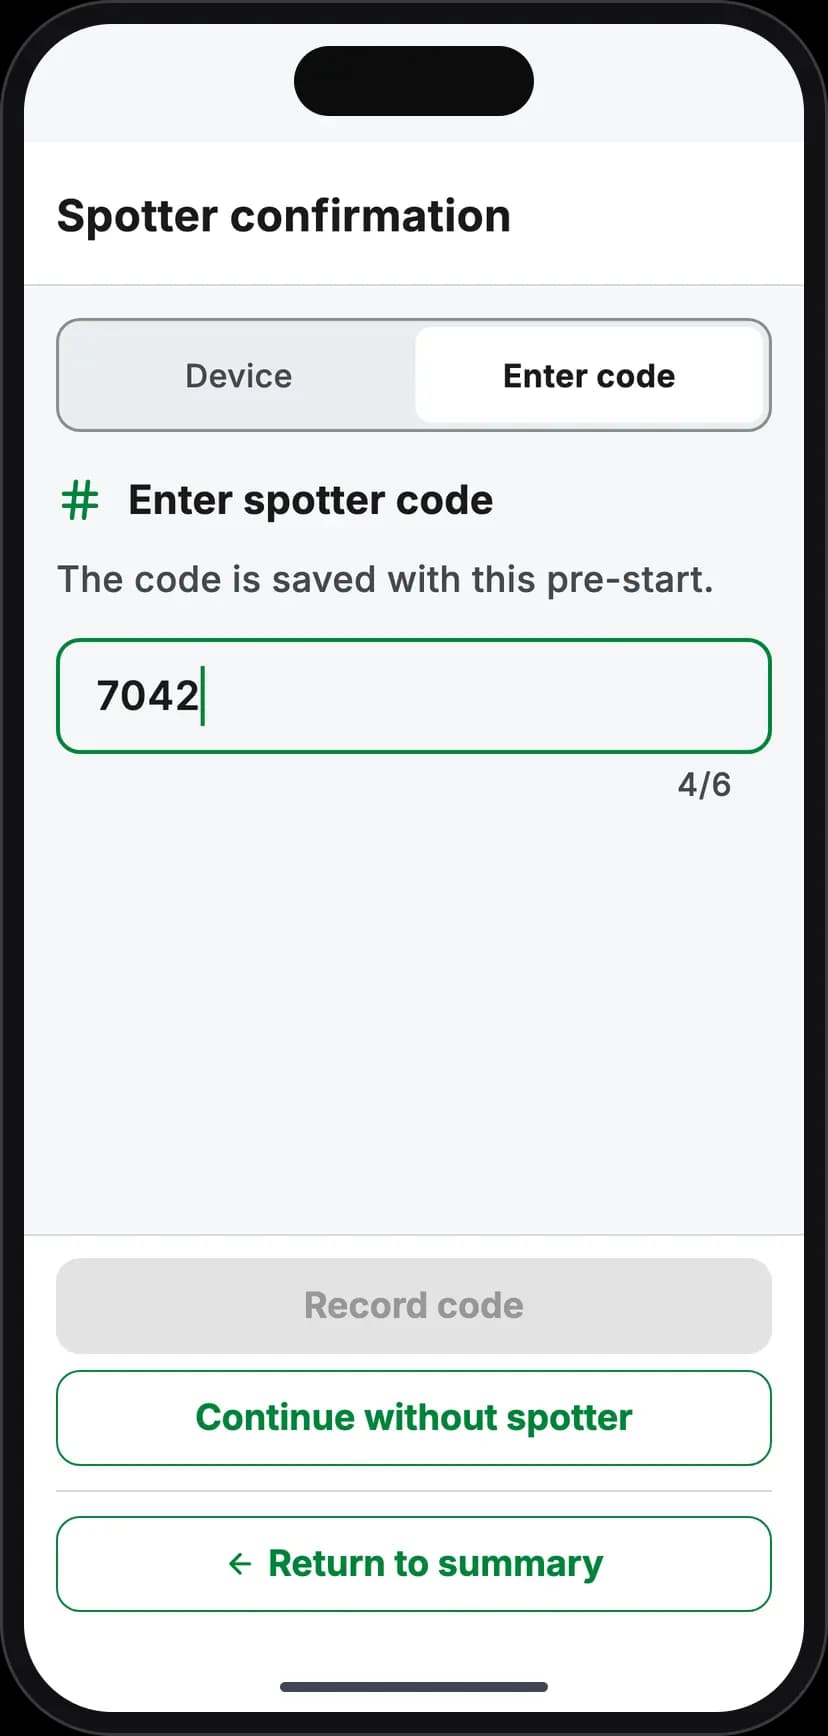
Confirm the spotter
Submission and the outcome
The result is derived by rule, the same way on your phone and on the server:
| Outcome | Meaning | Machine unlocks? |
|---|---|---|
| Pass | Every item passed or N/A | Yes |
| Pass with defects | Something failed, but nothing critical | Yes |
| Fail | A critical item failed — or wasn't answered | No |
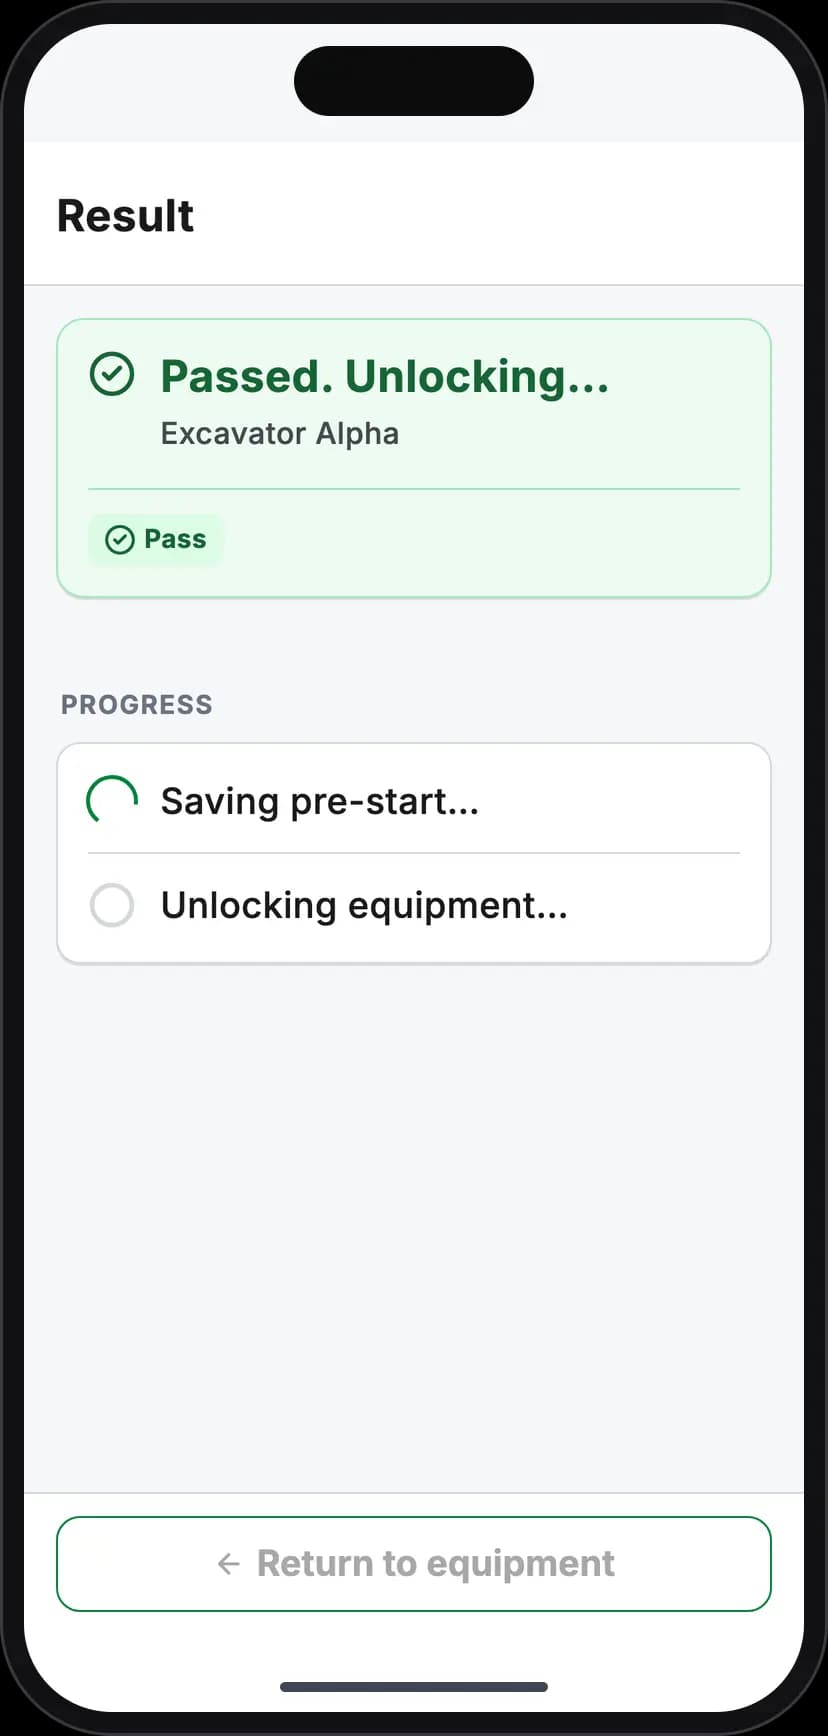
Pass: cleared to unlock
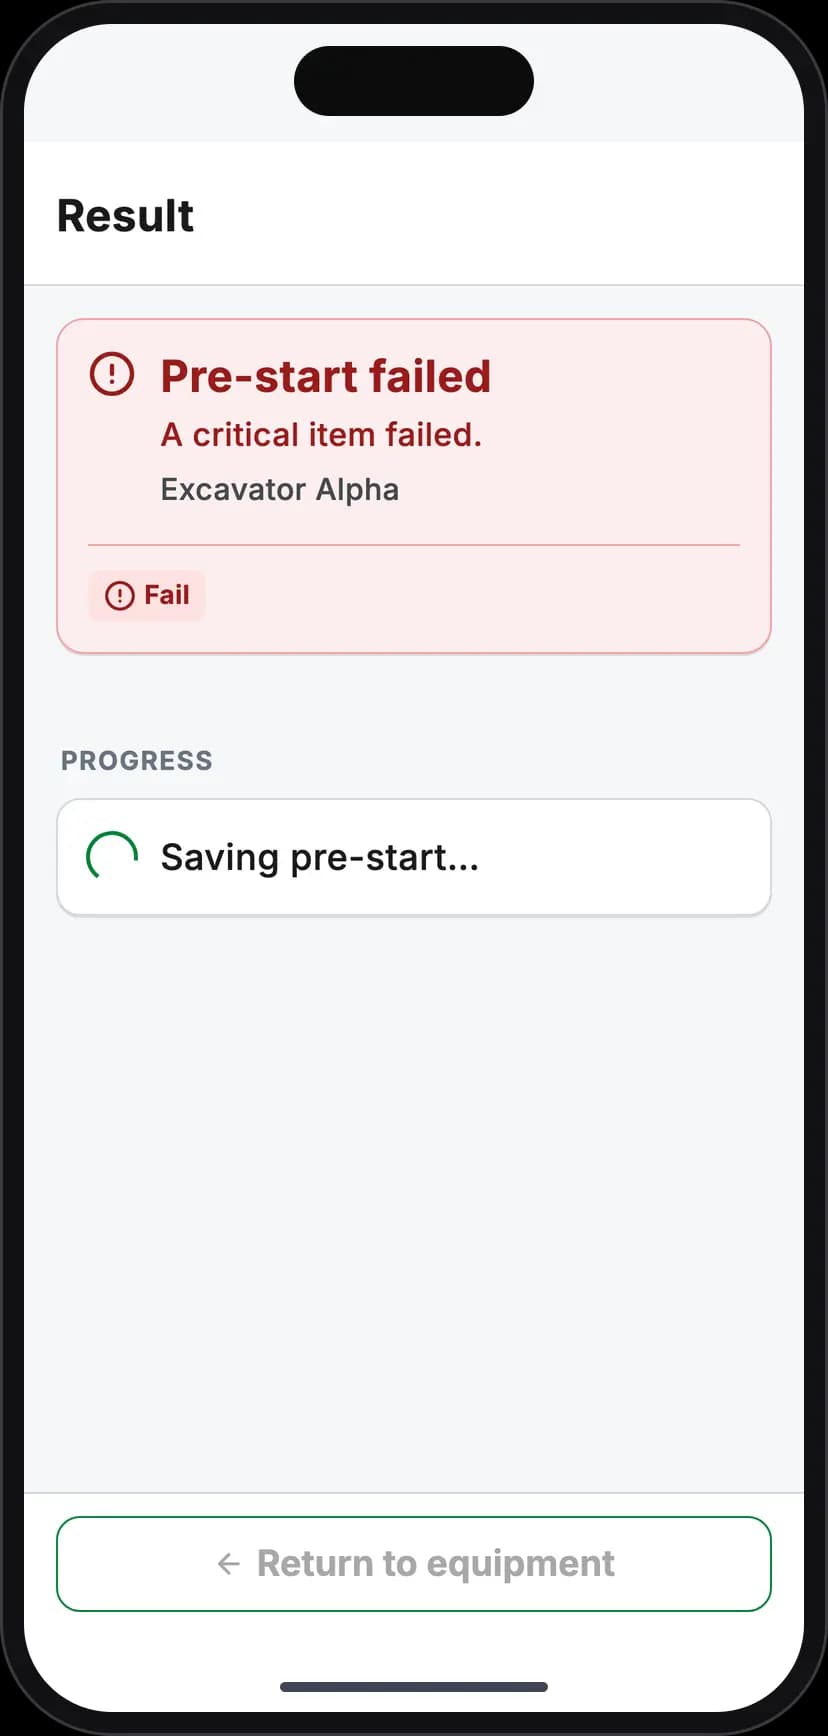
Critical fail: stays locked
A machine already flagged out of service fails its pre-start regardless of your answers — the lockout outranks the checklist.
A machine that failed a critical item on an earlier pre-start, or on a service checklist, is locked the same way until that item's defect is closed after repair. Any other open defect, critical or not, doesn't stop the unlock: the result says the pre-start passed and flags the defect, so you check it before use.
On a passing result the app connects to the Interlock and sends the signed unlock; the LED goes solid green and the machine can start. On GoTag-only machines there's no unlock step — the record is complete, there's just no relay to release. On a fail, the machine stays locked, the critical defect is raised, and your supervisor is notified. It stays locked until that defect is closed; if the machine has to physically move for repair, see Emergency Bypass.
What the office sees: every submitted check lands under Inspections › Pre-Start Checks.
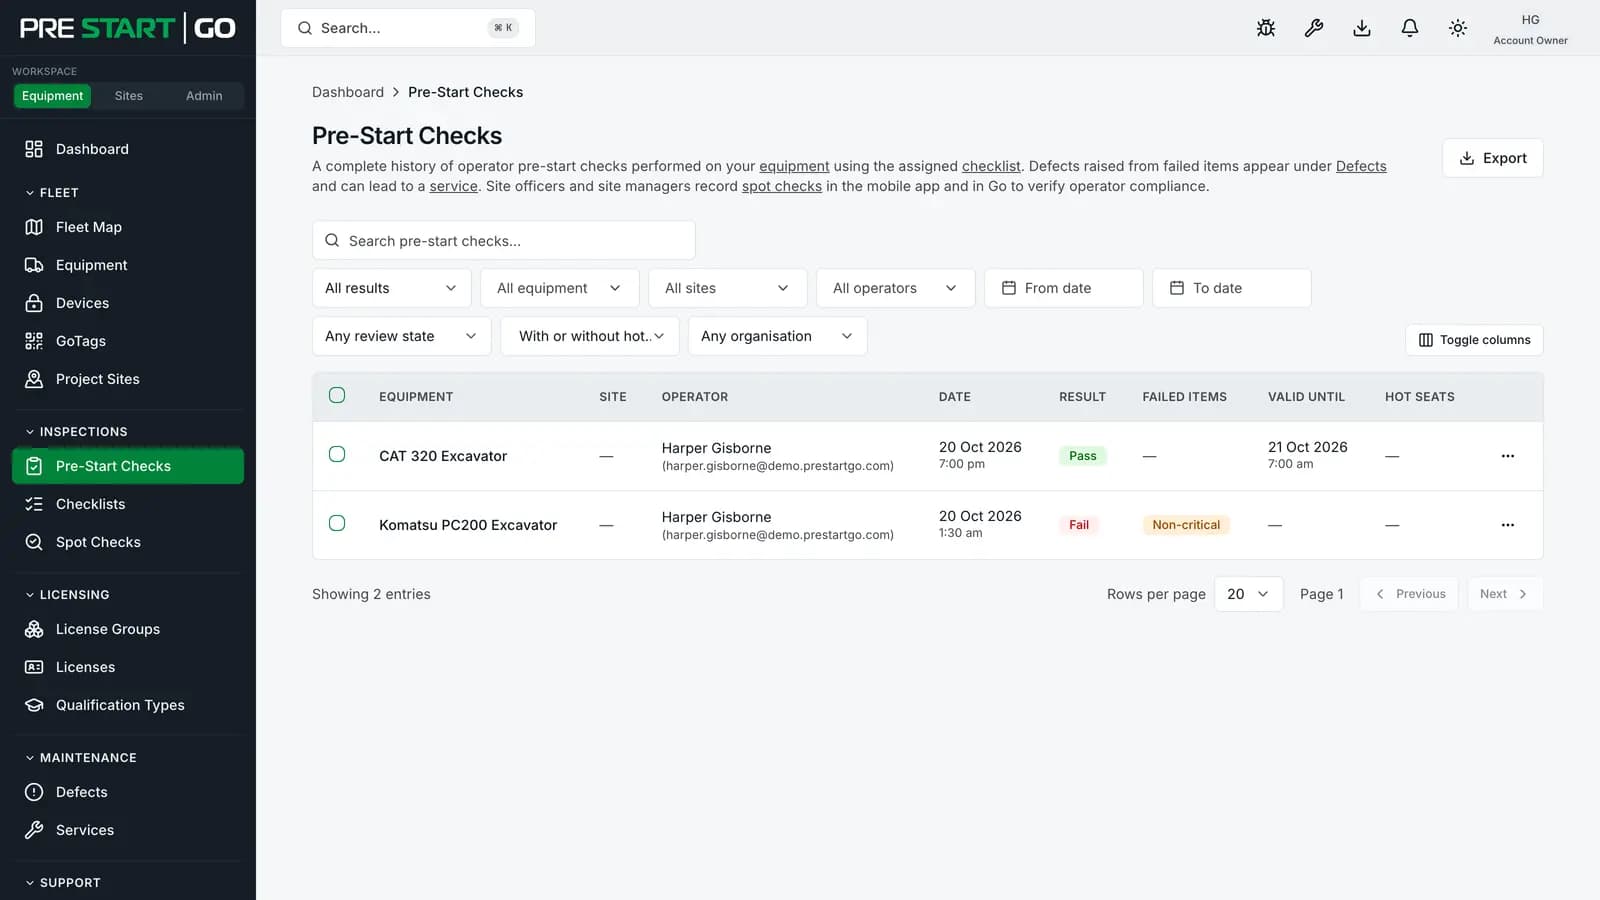
After the unlock
Your admin sets two timers in the console, and the app sends both with every unlock:
- The pre-start timer — how long a pre-start lasts (11 hours unless your admin changes it). The equipment page shows when it runs out. At that moment the machine re-locks immediately (no grace period; a running engine is never affected), and the next start needs a new pre-start.
- The operator timeout — how long the key can be off, or the seat empty on presence-wired machines, before you confirm to keep going.
Coming back to a machine
One rule, on every machine: if the last pre-start is still valid, confirm it; if it has expired, failed, or there isn't one, do a new pre-start. The button on the equipment page says which:
| Button | When | What happens |
|---|---|---|
| Start pre-start | No valid pre-start | The checklist opens. It's red when a technician has locked the machine out |
| Confirm and unlock | The last pre-start is still valid | You confirm nothing has changed since the last pre-start, and it unlocks |
| Confirm pre-start | The same, on a GoTag-only machine | It records that you're using the machine — there's nothing to unlock |
| Start new pre-start | The machine is running under a valid pre-start | Optional — a fresh pre-start if you want one |
If someone else did the last pre-start, the Confirm screen names them: when you confirm, you're responsible for it. With signal, the app checks with the platform before it unlocks, so a pre-start the office has cancelled can't be confirmed.
Edge cases
- Offline end to end — the checklist, the result, and the signed unlock all work with zero coverage; the record syncs later. See Working Offline.
- A power-cycled machine boots locked, and the next key-on needs a fresh unlock from the app. If the last pre-start is still valid, that's a Confirm; the Interlock gets the time that's left.
- A pre-start that hasn't sent yet — one done offline and still on the phone — can't be confirmed. The app asks for a new pre-start until the first one reaches the platform.
- Every record is yours. Inspections are attributed to the phone identity that ran them — never sign in with someone else's number, and there is no password to share.
Troubleshooting
| Symptom | Likely cause | What to do |
|---|---|---|
| "No usable checklist" block screen | No pre-start template resolves for this machine | Ask your admin to set a default template on the group or machine |
| "Not licensed" block screen | No valid licence for this machine's group | See Licensing Operators |
| Continue button won't enable | A required or critical item is still unanswered | Scroll for the highlighted unanswered items |
| Passed, but the BLE unlock fails | Out of range, or the Interlock has no power | Move closer and retry; on an ignition-powered Interlock, turn the key on first |
| Machine won't appear in your app at all | Licence/group mismatch | See Finding and Scanning Your Equipment |